FIFA World Cup Sticker Swaps: A collaborative approach to completing your collection
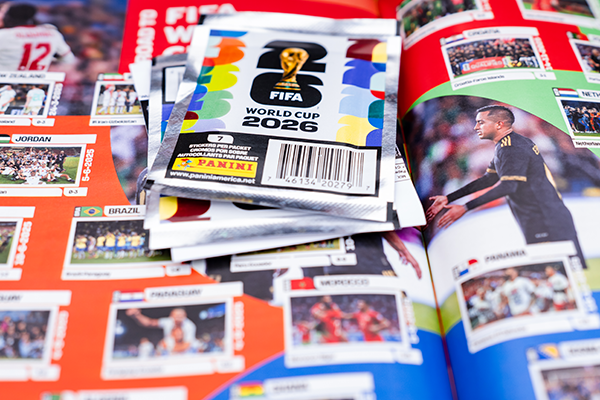
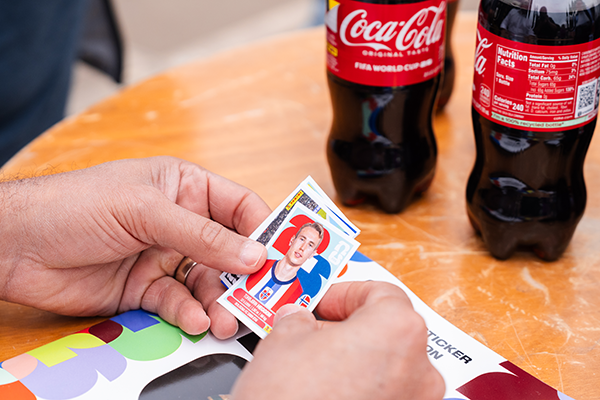
With the FIFA World Cup™ right around the corner and Panini’s Sticker Collection Album out, it’s the perfect time to take an in-depth look at a new, efficient way to fill up your album: the Sticker Swap.
With 980 stickers to collect, it can be hard filling up the album without some help from fellow collectors. The process, now including a digital element, eliminates the guesswork and provides the opportunity to trade for everything you need at a rate higher than before by participating in various Sticker Swap events hosted locally.
It’s all broken down here into a five-step process:
1. Create Your Album
You can create up to five albums in the Panini Direct app or on the website. All you have to do is navigate to My Albums, create a new album and give it a name. Each album comes with 980 stickers, set to “Need” status by default. More on that later.
2. Navigate Your Album
The Index organizes your album by Groups and Team Countries, in the same order as your physical sticker album.
Tap or click any section to jump directly to it rather than scrolling through all stickers.
At the top of your album, you’ll see your overall completion rate (via a percentage and the listed total out of 980).
At the top of the checklist, four tabs give you quick filtered views of your collection:
- All: Every sticker in the collection
- Got: The stickers you own
- Need: The remaining stickers you need to complete the collection
- Dupes: Multiples of the stickers you already own
3. Mark Your Stickers
Make sure to keep your digital checklist updated by marking the stickers as you get them.
- Marking a Sticker as Got
- Find the sticker using the Index or by browsing the checklist.
- Tap or click the sticker, and a slider panel opens with Got toggled on.
- Tap Save to confirm, or X if you opened it by mistake.
- Adding or Removing Duplicates
If you pull a sticker you already have, log it as a duplicate: this is what enables the swap tool to suggest trades.
- Tap edit on the selected sticker and use the (+) to add duplicates and the (-) to remove them, then tap save.
- Note, the swap tool only ever recommends trades using duplicate stickers. Your first copy of any sticker is never offered in a swap; it stays in your collection.
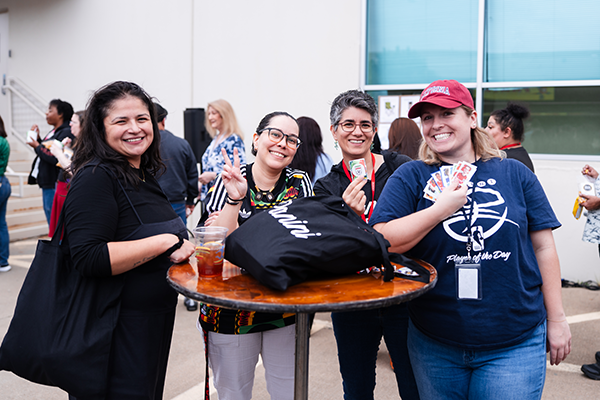
4. Find a Sticker Swap Event Near You
Attending Sticker Swap events is the most effective way to complete your collections and increase your chances of finding what you need.
Some events will also feature exclusive giveaways.
- How to Find Events
- Search by event name, city, or street, and filter by location, date, venue, status, or featured events. Toggle between Map and List view to browse what’s near you.
- What’s needed at a Swap Event:
- Your physical duplicates
- Your phone with the Panini Direct app installed and your checklist up to date
- Your QR code ready to show, or use the app to scan other collectors’ codes
5. Swap Stickers to Complete Your Album
The only way to do the sticker swaps is via the Panini Direct app.
Finding a Swap Opportunity
- You can get to the swap screen in two ways.
- Option A: Via the Sticker Swap banner on the home screen. Tap Scan Now, select your album, then tap Scan QR Code.
- Option B: Via any selected album. Just open it, tap Scan Now, then tap Scan QR Code.
How the Swap Works
- Once you’re on the Scan to Find Match screen, you have two options:
- Scan another collector’s QR code using your camera or show your QR code for the other collector to scan from their device.